Reviving a Nexus 9 with mainline Linux
Disclaimer: I take no responsibility if you try any of this on your own devices ;)
1. Is this thing on?
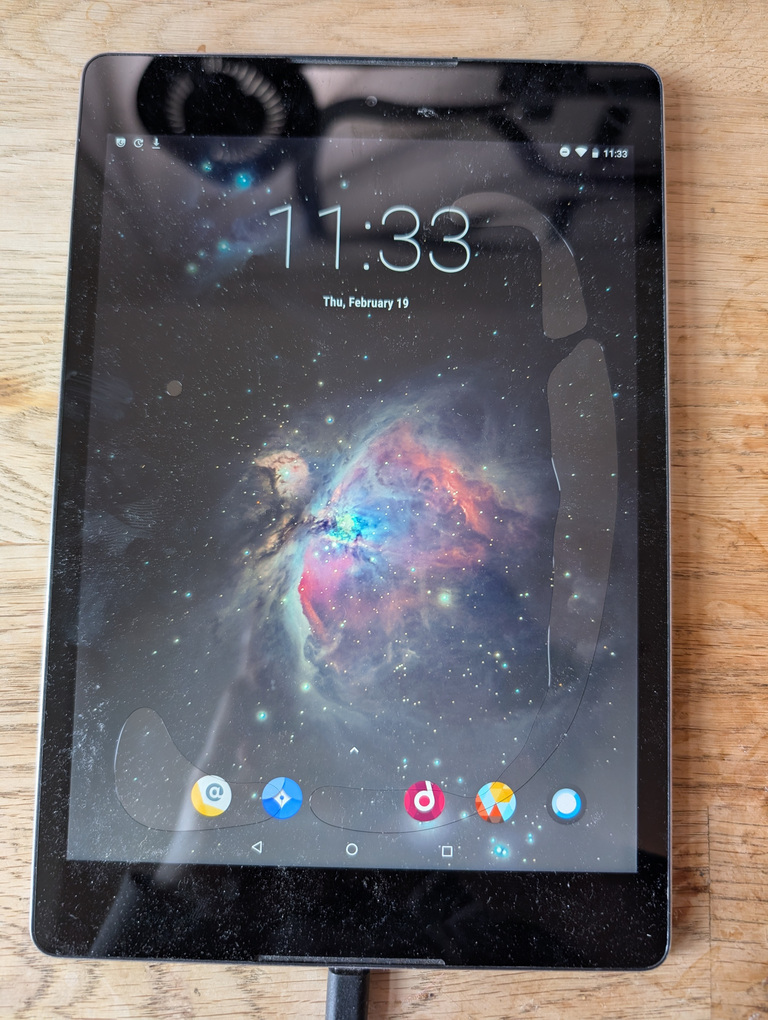
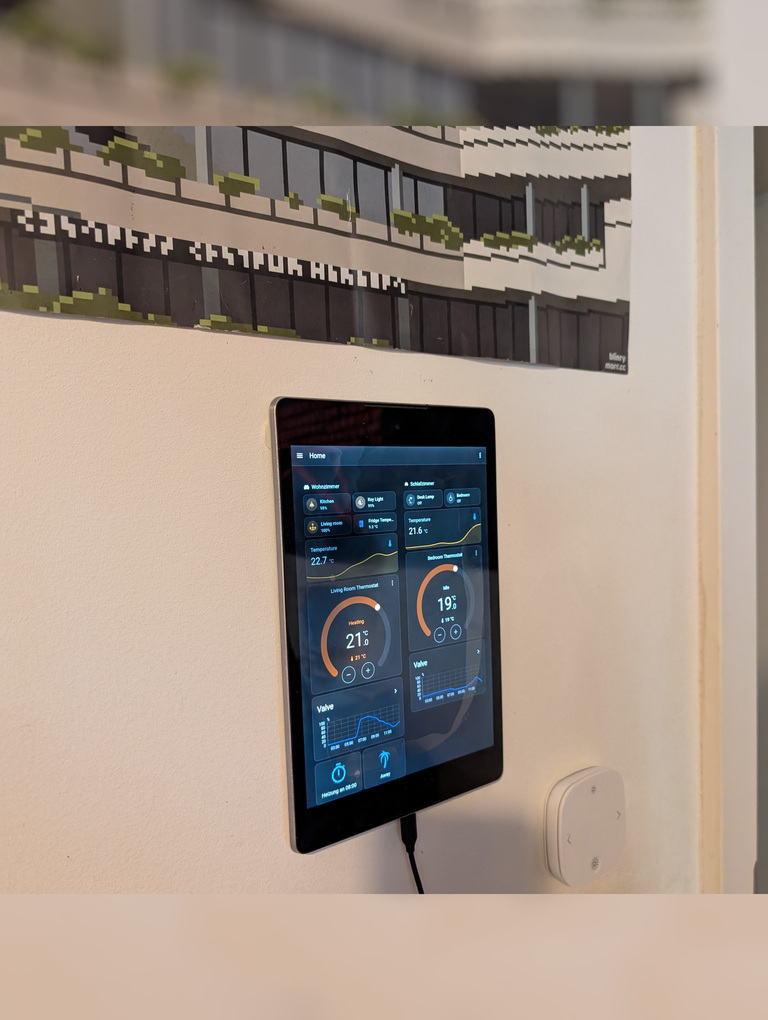
I got this Nexus 9 back in 2019 when it was already end-of-life, planning to mount it to the wall and use it as a remote control for various things. The various things ended up not happening until 2026, so here I am trying to finish up this project I started 7(!) years ago.
Oh no, it seems pretty much all the Nexus 9 devices nowadays have an issue where the screen glue shrinks, creating a vacuum which looks very much like air bubbles below the screen. Also, my LCD had other weird damage (possibly related to the glue shrinking, or it not being stored very carefully).
Anyways, let’s see what we can do with this thing!
2. postmarketOS
The last Android version someone ported to this thing was Android 9 / LineageOS 16.0, which received its last update in 2021. Even though it would probably be enough to be able to run a browser, that would be boring and I wanted to try getting some up-to-date software running.
So, I turned to postmarketOS, which is a Linux distro running on lots of old and new mobile devices and based on Alpine.
I checked the postmarketOS wiki page for my device and sure enough: This device is categorized as ‘testing’. Someone has booted it before and some if not all of the hardware features are listed as working. Also nice is that this was one of the very early devices supporting the 64-bit ARM instruction set, which means it’s overall easier to compile software for this thing if needed.
On devices which were originally shipped with Android there is usually some flashing method via the bootloader, or as it is called here, fastboot. I used the pmbootstrap tool on my Laptop to prepare a filesystem which I could then flash to the device according to the instructions on the wiki page.
Essentially, these were the steps for me:
$ nix-shell -p pmbootstrap # get pmbootstrap
$ pmbootstrap init
[...]
$ pmbootstrap install
At this point I made sure to put the Nexus 9 into fastboot mode by pressing the power button and the volume down button for a while, and then confirming using the power button. Now the Google Pixel/Nexus Fastboot device would show up in lsusb and was ready to be flashed.
$ pmbootstrap flasher flash_kernel
$ pmbootstrap flasher flash_rootfs
$ fastboot reboot
3. Debugging
Aaaaaand:
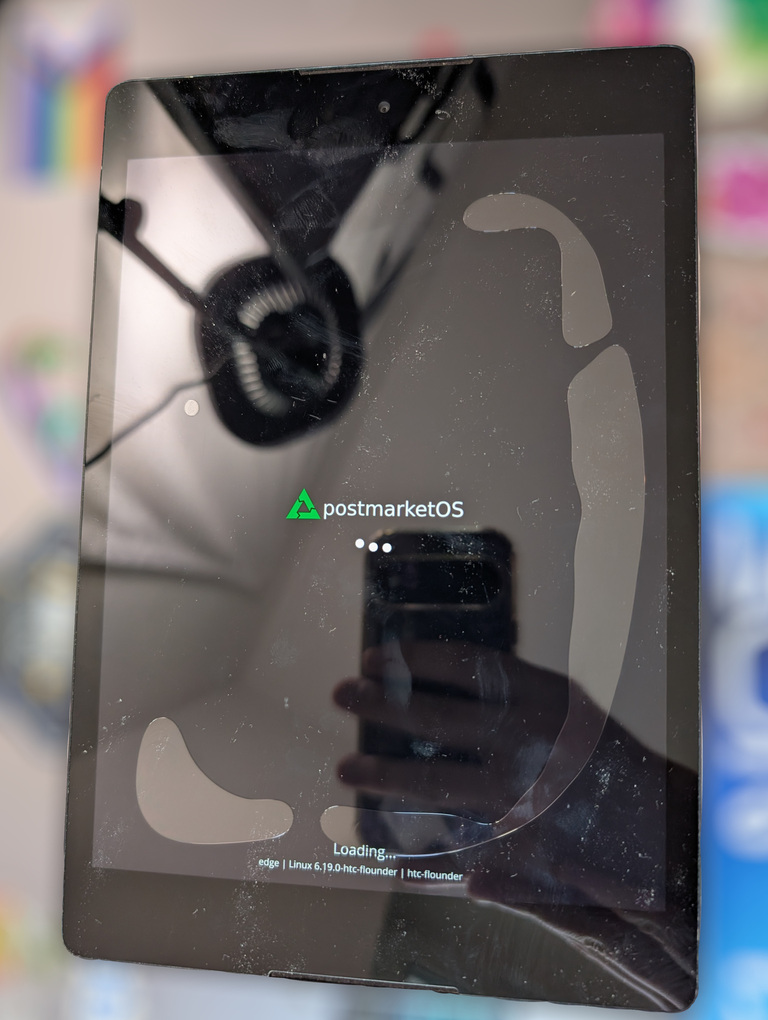
I see the postmarketOS logo and “Waiting for rootfs…”, then it drops me into a recovery shell. I guess at least the kernel started properly and the screen and touchscreen keyboard work in the recovery shell.
I asked the friendly folks in the #porting:postmarketos.org Matrix room for help, and they redirected me to #postmarketOS-on-tegra:matrix.org. blkid does not list pmOS_root or pmOS_boot.
Let’s have a closer look at the way postmarketOS works on most Android devices: We usually keep using the eMMC partitioning used by Android and don’t change it too much. The kernel and initramfs are flashed to the “boot” partition, where they can be discovered by the bootloader, and then there is a combined boot+root image, which itself contains a partition table and is flashed to the Android userdata partition (since this is the biggest of the remaining partitions).
The kernel+initramfs were obviously flashed correctly, since that is what showed the postmarketOS boot screen and the recovery shell. So either the boot+root image was not flashed correctly, or there is something wrong with the kernel (missing modules, …) so that it can’t discover the rootfs partition. I suspected this was something to do with the Linux kernel being used for this device in postmarketOS being too outdated or not being configured properly to boot a 2026 postmarketOS. I also noticed the wiki page mentioned something about the partition tables using some format specific to the Nvidia Tegra chip used in this device.
Someone suggested building a ‘split’ image, so exporting the individual partitions instead of letting pmbootstrap combine them into one combined image, and then manually flashing them to the partitions.
$ pmbootstrap install --split
$ pmbootstrap export
$ fastboot flash boot /tmp/postmarketOS-export/boot.img
$ fastboot flash system /tmp/postmarketOS-export/htc-flounder-boot.img
$ fastboot flash userdata /tmp/postmarketOS-export/htc-flounder-root.img
$ fastboot reboot
This time, it gets past the boot animation, and shows a tty login prompt. Exciting!
Later on I discovered that the --single-partition option
also successfully works around the problem with subpartitions not being
discovered, without the need to flash the indvidual partitions manually.
I updated the wiki page to reflect this, so that users should get the
device booted out of the box when following the instructions from the
wiki in the future.
4. Getting access to the device
Now we fully booted postmarketOS, however I am stuck at the log-in prompt with no way to type in my username and password. So these are my options (non-exhaustive):
USB-networking: Normally when connecting the device running postmarketOS to a computer, it will emulate a USB network interface in device-mode, so that we can SSH into the device immediately after flashing. This is currently broken on the Nexus 9 :(
USB-OTG: We can attach a keyboard or USB NIC via a USB-OTG cable. This should work according to the feature matrix on the wiki page, but I don’t have a micro-USB OTG cable.
On-screen keyboard: During pmbootstrap init, we can choose ‘buffyboard’ as UI, and make sure not to enable systemd because otherwise buffyboard will not start. This gives us a the same rudimentary touchscreen keyboard also used in recovery.
GUI: I wish… Choosing any one of the graphical interfaces yields a blinking cursor. We’ll get to that later.
So for now I went with the only option which worked for me: the buffyboard on-screen keyboard interface.
5. Kernels
Referring back to the title of this blog entry, mainline Linux means this is supposed to be following the changes of Linux as it is still being developed. But this shows as Linux 6.0.0, which is again nearly 4 years old at this point.
Generally, we can categorize kernels like this:
Vendor kernels have been forked from an older version of Linux, and made more elaborate changes like adding fully new drivers which are not present in current (mainline) Linux, might not be of high quality or follow the coding standards of upstream Linux development.
‘close-to-mainline’ kernels which have only added device trees and small fixes which can easily be rebased and hopefully submitted for inclusion in mainline Linux at some point.
A mainline kernel can be used when the device is fully supported Linux, and it is just a matter building the correct configuration. In the best case it would even be possible to build a configuration which supports many of these devices at the same time (as long as they accept the same instruction set).
The kernel used here is 4 years old, but it is very close to what was the mainline Kernel back then. The drivers used are all already part of mainline Linux. This branch has 24 commits on top of Linux 6.0.0, mostly touching the Tegra device trees.
So I fetched the branch to my local Linux checkout, and it was a matter of minutes rebasing those 24 patches on top of the latest Linux 6.19, only running into a few conflicts in between, because someone had improved support for a similar device (the 32-bit Tegra K1, ‘T124’) in upstream in the meantime, thus touching a lot of the same pieces.
I pushed my rebased branch here and then updated the package at ~/.local/var/pmbootstrap/cache_git/pmaports/device/testing/linux-htc-flounder/ to use it. After re-running the installation & flashing steps, I’m now running Linux 6.19 on my Nexus 9 c:
6. Kernel config & iwd
Currently each of the many kernel packages in postmarketOS has its own kernel config file. There is work being done towards generating the configs from fragments, but this does not yet apply to our device.
There were a few things that bothered me about the linux-htc-flounder kernel config. pmbootstrap prints a few warnings about recommended options not being enabled, which I wanted to fix. Also I noticed that I couldn’t use iwd for WiFi because it complained about missing kernel features. The pmbootstrap kconfig tooling is very useful for this: I used it to migrate the config to the new Linux version (‘pmbootstrap kconfig migrate’) and to open the menuconfig interface for editing the kernel config (‘pmbootstrap kconfig edit’) and in between check if the recommended options are satisfied (‘pmbootstrap kconfig check’).
Another thing I noticed about iwd was that it does not seem to be shipped with an openrc service, so it is not automatically started on boot with the image I built earlier (where I had to keep systemd disabled because otherwise buffyboard would not start). Overall I hope I can switch to a systemd+iwd config later, once I no longer rely on buffyboard.
7. Graphical user interface
GPU acceleration is currently marked as broken. Starting any graphical interface will fail to initialise the display/GPU. More specifically the nouveau kernel driver attempts to initialize the GPU and should work, but the userspace counterpart in mesa is broken since a long time. I ended up at this pull request, and also some attempts to make the new NVK driver work for older Tegra GPUs, however it’s unclear if this will ever be finished. For now, I try to work around the missing direct-rendering driver.
Buffyboard already renders itself onto the screen, so how does it do that? Well, it uses the framebuffer provided at /dev/fb0 which is a file you can write to and directly set the display contents. Proper graphical user interfaces do not try to use this by default, because it is slow compared to directly letting GPU set the display contents and for most hardware the direct-rendering driver works much better. For Wayland compositors we are mostly out of luck, since nobody bothers to maintain a backend for writing to the display via a framebuffer file nowadays. X11 based interfaces still have this option though for historical reasons.
I added the following file /etc/X11/xorg.conf.d/20-fbdev.conf inside the device-htc-flounder package with the following contents:
Section "Device"
    Identifier      "Framebuffer device"
    Driver          "fbdev"
EndSection
Built the new image with the Mate interface, and was greeted by the graphical lightdm login screen.
8. Filesystem corruption??
Even with the graphical login screen, I still couldn’t log in because the on-screen keyboard ‘onboard’ wouldn’t show. There were some previous issues with onboard crashing, so I tried using an older release branch of postmarketOS, with no luck. According to people in the pmOS Matrix rooms, it worked fine on other devices.
Finally, I added TTYescape to my image and used it to set up remote access to the device, which was otherwise still stuck on the graphical login screen. TTYescape also turned out to be a solution for getting buffyboard to start on systemd installations.
I tried to run the onboard keyboard from an SSH session, switching to
the lightdm user account and running DISPLAY=:0 onboard,
which printed “Segmentation fault (core dumped)”. Then, I installed gdb
in an attempt to debug onboard, but gdb also segfaulted itself(!) on
startup.
One possible explanation for this would be CPU bugs and/or missing instruction set extensions which are nowadays assumed by most software (for example NEON on armv7). But NEON/SIMD extensions are mandatory in the 64-bit ARM instruction set! This turned out not to be the issue.
For the next debugging attempt I created a tarball with an
independent installation of gdb from my /nix/store, and copied it to the
device. This version of gdb started up just fine and I was able to debug
the broken gdb inside the working gdb! The stacktrace contained a lot of
addresses within /lib/python3.12.so.1.0. Sure enough, starting just the
python3 interpreter also segfaults, and this explains why onboard and
gdb were both segfaulting, since they both use python. After running
apk fix python3, both gdb and onboard started just
fine.
I completely purged ~/.local/var/pmbootstrap on my laptop, rebuilt and re-flashed the pmOS image, but it seems this filesystem corruption happens reproducibly. I was just lucky that python3 was affected and not some other component required for booting.
Conclusion
Tinkering with this device was a lot of fun and it is now more useful to me than before. The improvements I made to the kernel package have been submitted to pmaports in this MR. The filesystem corruption issue remains a mystery, but can be worked around using TTYescape and apk fix.
Thanks to longnoserob and the other amazing folks from pmOS Matrix for all the help!
As always, I hope you could learn something :)